## Introduction
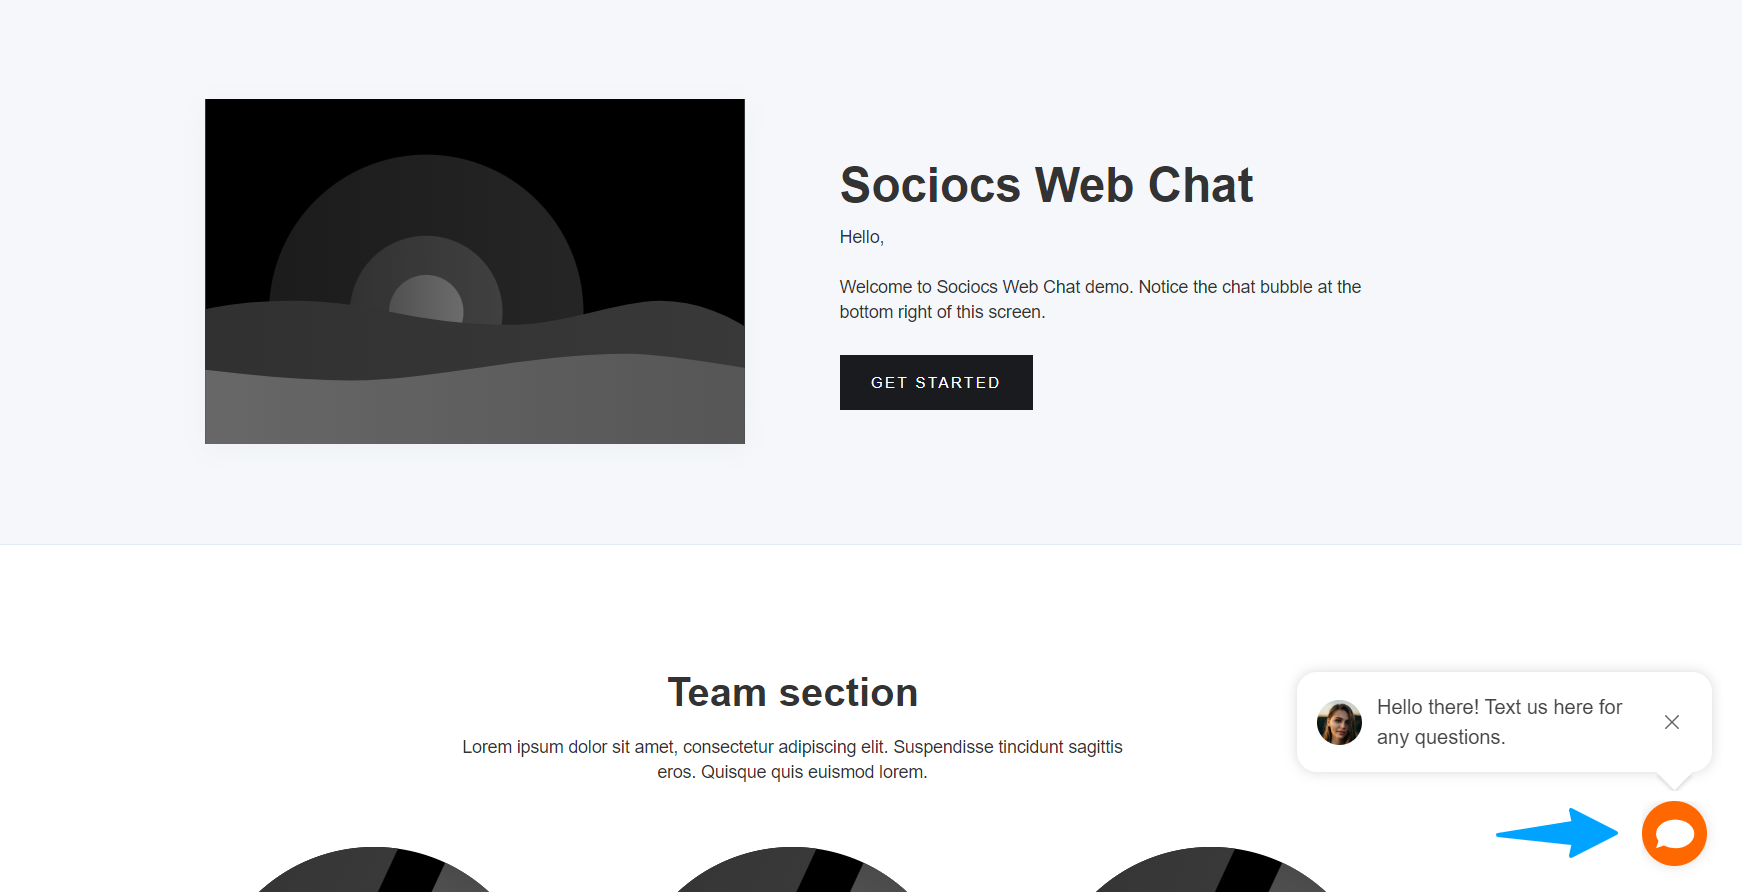
Sociocs Web Chat plugin adds a chat bubble on your website that draw user's attention, and gives them an easy way to reach out to you. It converts an inquiry into SMS / text messaging based conversation, so that your user doesn't have to wait on the website for a response.
When your web app user initiates the inquiry, it shows up in your Sociocs Inbox, from where you can reply to the user, and continue the conversation.
## Setup
### Twilio
* You can skip this step if you already have an account with Twilio.
* If you don't have an account with Twilio, you can sign up for a free trial account. (Once you sign up for a trial, you should consider upgrading right away to avoid outbound SMS restrictions.
### Sociocs
1. Sign up or log in on app.sociocs.com.
1. Select "*SMS (with Twilio)*" in the "*Connect a new channel*" page. If you are an existing user, after logging in, click on "*Channels*" menu on the top, click on "*+*" button to go to the "*Connect a new channel*" page.
1. Connect your Twilio phone by following the instructions.
1. Go to "*Connect a new channel*" page again (click on "*Channels*" on the top menu, and click on "*+*" button), and select "*Click to Chat by Text/SMS*".
1. Enter information for your Web Chat plugin and customize the chat prompt UI (if you want), and click "*Next*".
1. You should see the plugin code. You will be using this code in your Webflow site in the instruction below.
### Webflow Designer
#### Add Custom Code in Project Settings
1. Go to "*Project Settings*", and go to "*Custom Code*" tab.
1. Copy and past code from Sociocs in the "*Footer Code*" section.
1. Publish your website. That's it! Refresh your Webflow website page, and you should see a chat bubble on bottom right.